A Crash Course in InDesign Styles
Are you tired of manually formatting each element of your InDesign documents? Do you want to streamline your publication production process and save valuable time? Look no further!
In this crash course, we'll delve deep into the world of InDesign styles and unlock the secrets to efficient design workflows. From text styles to character styles, we've got you covered.
Understanding InDesign Styles
InDesign styles are pre-defined sets of formatting attributes that can be applied to text and objects within your document. They provide consistency, efficiency, and flexibility, allowing you to maintain a cohesive design across all your publications.
If you regularly working on mailers, magazines, books, or any other long format material, using InDesign styles can save you HOURS of time. Trust us.
Text Styles in InDesign
Text styles are the backbone of any well-organized document. They encompass attributes such as font, size, leading, alignment, and more. By creating and applying text styles, you can instantly format headings, body text, captions, and other elements with a single click. This not only speeds up your workflow but also ensures consistency throughout your document.
Why Use Character Styles in InDesign?
Creating character styles follows a similar process to text styles. Simply define the attributes you want to apply to specific text and save it as a character style for easy reuse.
Setting up character styles first will allow you to automatically include these styles in larger paragraph styles. We always start with characters first and work our way up!
While text styles focus on paragraph-level formatting, character styles allow you to apply formatting to specific text within a paragraph. This is particularly useful for emphasizing keywords, formatting inline links, or applying special effects to individual words or phrases.

How to Create Character Styles in InDesign
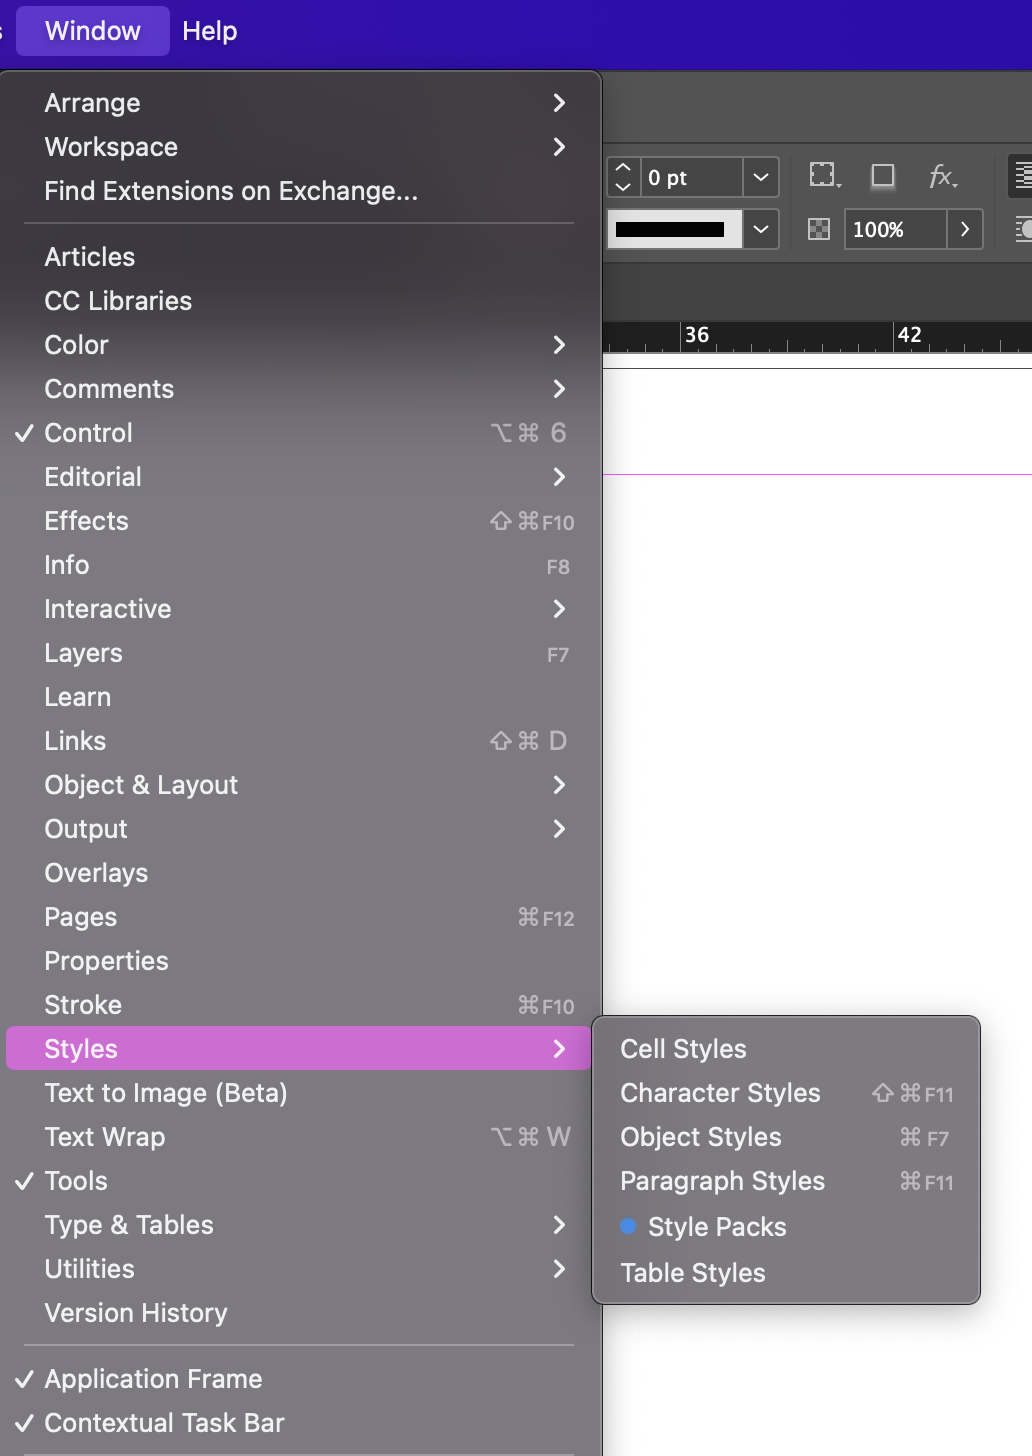
Open the Character Styles panel in InDesign.
Create a new style by clicking on the "Create New Style" icon.
Name your style and define its attributes, such as font, size, color, and effects.
Select the text you want to format and apply the character style from the panel.
Paragraph Styles in InDesign
Paragraph styles allow you to format bulk text with the click of a button. By using a combination of custom presets and character styles, you’ll have a document that flows seamlessly with minimal manual formatting.

How to Create Paragraph Styles in InDesign
Open the Paragraph Styles panel in InDesign.
Click on the "Create New Style" icon at the bottom of the panel.
Name your style and define its attributes, such as font, size, and spacing.
Click "OK" to save your new text style.
Apply the style to your text by selecting it and clicking on the desired style in the panel.
Bonus styles!
Just like with character and paragraph styles, InDesign also allows you to set up styles for tables (and the cells within) and objects. These are perfect if you have a report filled with screenshots or data-heavy tables.
Streamlining Your Workflow
Now that you've mastered the basics of InDesign styles, it's time to put them to work and streamline your publication production process. Here are a few tips to help you make the most of styles:
Consistency is Key: Use styles consistently throughout your document to maintain a professional look and feel.
Organize Your Styles: Keep your styles organized by grouping them into categories such as "Headings," "Body Text," and "Specialty Styles."
Use Overrides Sparingly: While overrides can be useful for making quick adjustments, try to avoid them as much as possible to maintain the integrity of your styles.
Update Styles Dynamically: If you need to make changes to a style, simply update it once, and all instances of that style will be automatically updated throughout your document.
Conclusion
InDesign styles are a powerful tool for streamlining publication production and maintaining consistency in your designs. By mastering text styles, character styles, and their applications, you can save time, reduce errors, and take your design projects to the next level. Stay tuned for future blogs where we'll explore advanced tips and tricks for maximizing your InDesign workflow. Happy styling!